
Why You’ll Love This Recipe
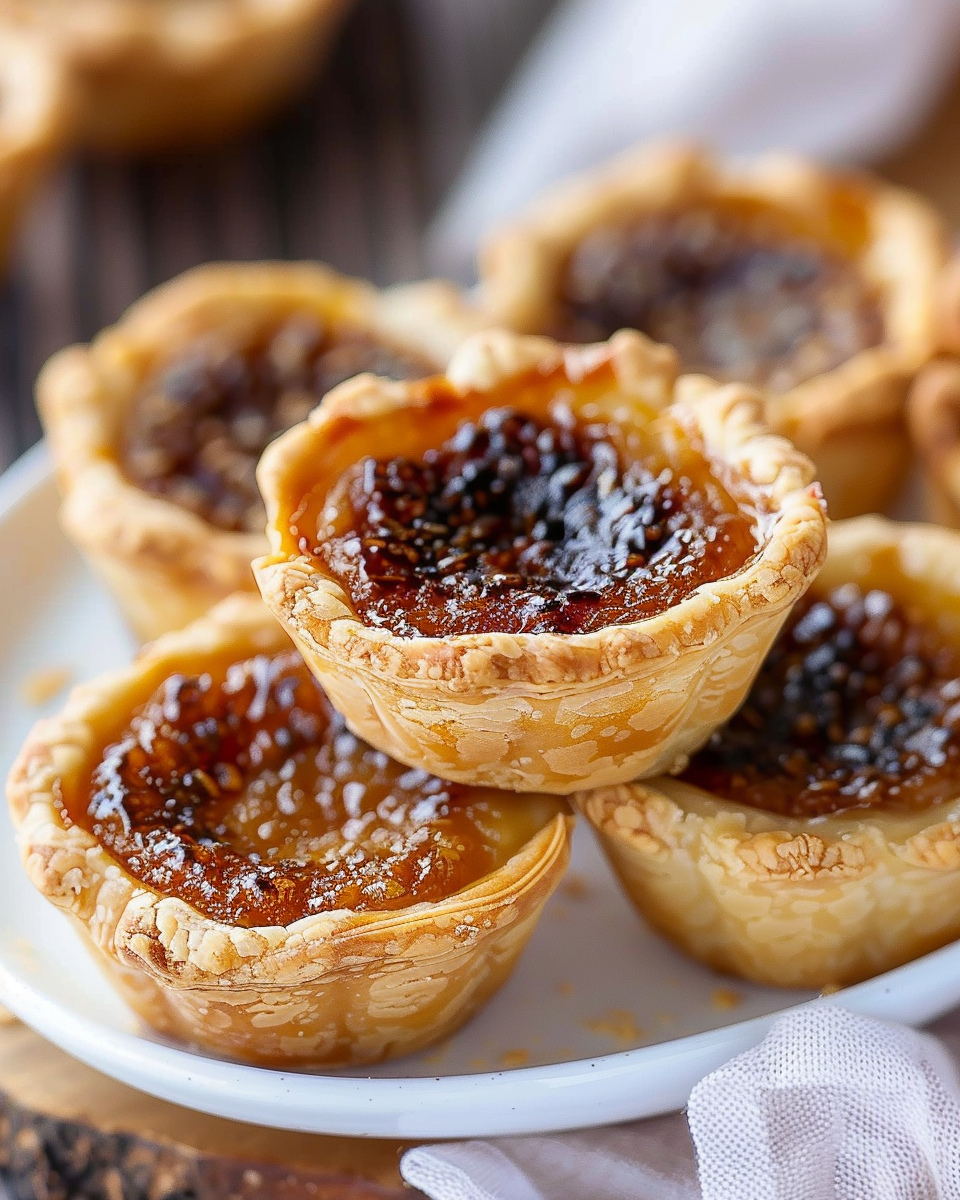
I love how easy these butter tarts are to make, and the results are always impressive. The crust is crisp and golden, while the filling is sweet and sticky, like a buttery caramel. I can adjust the texture by baking them for a shorter or longer time—sometimes I like them runny, sometimes a bit firmer. They require minimal ingredients and come together quickly, making them perfect for both beginner bakers and last-minute dessert needs.
Ingredients
(Here’s a tip: Check out the full list of ingredients and measurements in the recipe card below.)
-
1 package of pie crust
-
1 cup (200 g) packed dark brown sugar
-
¼ cup (56 g) unsalted butter, melted
-
1 large egg, room temperature
-
1 teaspoon apple cider vinegar
-
1 teaspoon vanilla extract
-
½ teaspoon salt
Directions
-
I begin by positioning the oven rack in the bottom third and preheating the oven to 375°F. Then I grease a 12-cup muffin tin and set it aside.
-
On a lightly floured surface, I roll out the chilled pie dough to about ⅛ inch thick. If the dough feels too stiff, I knead it gently to soften.
-
I cut the dough into 4-inch circles and press each one into the muffin tin, making sure the edges come up to the top. I reroll the scraps as needed, then chill the prepared pan in the freezer while I mix the filling.
-
For the filling, I whisk together the brown sugar, melted butter, egg, apple cider vinegar, vanilla, and salt in a bowl until smooth.
-
I divide the filling evenly among the pastry shells, filling them about 2/3 full.
-
I bake the tarts for 14–15 minutes if I want a runnier center, or 18–20 minutes for a firmer texture. Once they’re golden and set, I let them cool in the tin for a few minutes. I gently loosen the edges with a knife and let them cool completely before removing.
Servings and timing
This recipe makes 12 butter tarts and takes about 35 minutes from start to finish—20 minutes of prep time and 15 minutes to bake. They’re perfect for sharing or storing for sweet cravings throughout the week.
Variations
Sometimes I like to add chopped pecans or raisins to the filling for extra texture and flavor. I’ve even experimented with maple syrup for a deeper, more distinctly Canadian flavor. For a twist, I occasionally sprinkle a bit of flaky sea salt on top after baking to contrast the sweetness.
Storage/Reheating
I store these butter tarts in an airtight container in the refrigerator for up to 5 days. If I want to enjoy them warm, I reheat them gently in a 300°F oven for about 5 minutes, or I pop one in the microwave for 10–15 seconds.
FAQs
Can I use homemade pie dough?
Yes, I sometimes make my own crust if I have extra time. A buttery, flaky homemade dough adds even more richness to the tarts.
Are butter tarts supposed to be runny or firm?
It depends on preference. I like them both ways—baking for a shorter time gives a runny center, while longer baking creates a firmer filling.
Can I freeze butter tarts?
Absolutely. I let them cool completely, then freeze in a sealed container for up to 2 months. I thaw them at room temperature or reheat in the oven.
What’s the purpose of the vinegar?
I use apple cider vinegar to cut through the sweetness of the filling—it adds a subtle tang that balances the flavors.
Do I need to blind bake the crust?
No, I don’t blind bake the crust. The tarts bake beautifully all at once, with the crust crisping up perfectly during the regular baking time.

Conclusion
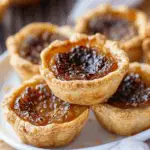
Canadian Butter Tarts are a true classic for a reason. With their rich, caramelized filling and buttery, flaky crust, they offer the kind of nostalgic flavor that never gets old. Whether I serve them at a party or enjoy one quietly with a cup of tea, they always hit the spot. Simple, satisfying, and delightfully sweet—these tarts are a treat I keep coming back to.
Canadian Butter Tarts
5 Stars 4 Stars 3 Stars 2 Stars 1 Star
No reviews
- Author: Mia
- Total Time: 35 minutes
- Yield: 12 tarts
- Diet: Vegetarian
Description
Sweet, sticky, and perfectly buttery, these classic Canadian Butter Tarts feature a flaky crust and rich brown sugar filling. A nostalgic treat that’s simple, quick, and totally irresistible.
Ingredients
1 package of pie crust
1 cup (200 g) packed dark brown sugar
¼ cup (56 g) unsalted butter, melted
1 large egg, room temperature
1 teaspoon apple cider vinegar
1 teaspoon vanilla extract
½ teaspoon salt
Instructions
Position oven rack in the bottom third of the oven and preheat to 375°F. Grease a 12-cup muffin tin.
On a lightly floured surface, roll out chilled pie dough to about ⅛ inch thick. If too firm, knead briefly to soften.
Cut dough into 4-inch circles and press into each muffin cup, ensuring edges reach the top. Reroll scraps as needed. Chill prepared pan in the freezer while making the filling.
In a bowl, whisk together the brown sugar, melted butter, egg, vinegar, vanilla, and salt until smooth.
Divide filling evenly between tart shells.
Bake for 14–15 minutes for a runny filling, or 18–20 minutes for a firmer filling, until tarts are golden and set.
Let cool briefly, loosen edges with a knife, and cool completely before removing. Serve at room temperature.
Notes
Store butter tarts in an airtight container in the refrigerator for up to 5 days.
Adjust baking time based on desired filling texture (runny or firm).
For added texture, mix in a few raisins or chopped pecans before baking (optional variation).
- Prep Time: 20 minutes
- Cook Time: 15 minutes
- Category: Dessert
- Method: Baked
- Cuisine: Canadian


