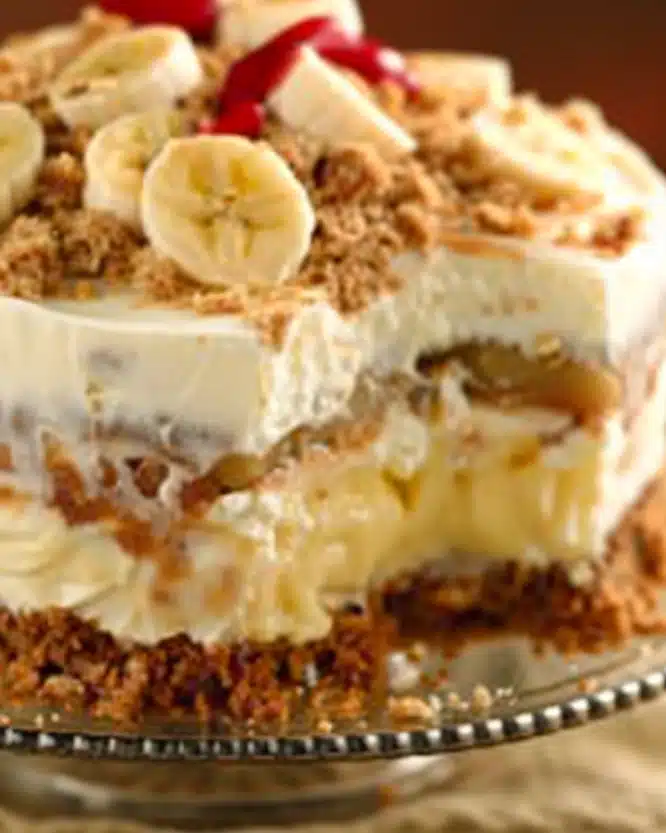
I am absolutely thrilled to share with you my favorite indulgence: this Ice Cream Sandwich Cake Recipe. It’s the perfect marriage of creamy chocolate pudding, luscious Cool Whip, and those nostalgic ice cream sandwiches layered to create a decadent no-bake dessert that always brings smiles. I adore how easy it is to put together, yet it looks and tastes like a showstopper that instantly becomes the centerpiece of any gathering. If you love a rich, playful, and colorful treat, you are going to fall head over heels for this recipe just as I did.
Why You’ll Love This Ice Cream Sandwich Cake Recipe
When I first tried this ice cream sandwich cake, what got me hooked immediately was the flavor combination. The chocolate pudding has this deep, velvety richness that’s wonderfully balanced by the light, fluffy Cool Whip and the cold, creamy ice cream sandwiches. Every bite has contrasting textures that keep you coming back for more — the soft pudding, the crunchy sprinkles, and the smooth ice cream. It’s playful and nostalgic, reminding me of childhood summers but elevated into a grown-up dessert that’s perfect for celebrations.
What truly makes this recipe a winner in my book is how easy it is to prepare. Honestly, it’s one of those recipes where the baking skills don’t matter — no complicated techniques, no oven required — just layering and freezing. This makes it ideal for busy weeknights, last-minute parties, or even chilling out on a hot day. Plus, it’s a guaranteed crowd-pleaser at family dinners, holiday potlucks, and birthday parties. There’s something magical about serving a homemade dessert that looks so festive and tastes absolutely divine.
Ingredients You’ll Need

The beauty of this Ice Cream Sandwich Cake Recipe lies in its simple, everyday ingredients that come together to create something extraordinary. Each ingredient plays a vital role in building the cake’s rich flavor, creamy texture, and vibrant appearance.
- Instant chocolate pudding mix: This forms the luscious chocolate base that keeps the dessert rich and indulgent.
- Unsweetened cocoa powder: Adds depth and an intense chocolate flavor to the pudding layer.
- Half-and-half: Gives the pudding its creamy consistency without being too heavy.
- Cool Whip (thawed and divided): Brings fluffy lightness and a cloud-like texture to the cake.
- Rainbow sprinkles: These little bursts of color add a fun and festive crunch.
- Vanilla ice cream sandwiches: The star players that form the cake’s layers and give it its name.
- Hot fudge topping (at room temperature, divided): Smooth, gooey, and chocolatey, this tops and permeates the layers.
- Optional toppings: Extras like M&Ms, chopped candy bars, caramel or chocolate sauce to customize the finishing touch.
Directions
Step 1: Line a 9 x 13 inch baking dish with parchment paper, making sure the sides are covered so the cake will be easy to lift out later. Set the dish aside while you prepare the layers.
Step 2: In a medium mixing bowl, whisk together the instant chocolate pudding mix and cocoa powder until evenly combined. Pour in the half-and-half and stir until the mixture thickens and is smooth. Then gently fold in half of the thawed Cool Whip, about 8 ounces, along with the rainbow sprinkles to add both color and an enjoyable crunch to the chocolate layer.
Step 3: Arrange a single layer of the vanilla ice cream sandwiches in the bottom of your prepared pan. I found that lining up 2 rows of 4 sandwiches with about one and a third sandwich at the end covers the 9×13 dish nicely. Trim the edges or use extra pieces to fill any gaps so the base is as even as possible.
Step 4: Spread one quarter cup of the room temperature hot fudge evenly over the ice cream sandwich layer. This helps bind the layers and adds that irresistible gooey chocolate texture.
Step 5: Spoon and spread the prepared chocolate pudding mixture evenly across the fudge-covered layer, smoothing it from edge to edge.
Step 6: Place the pan in the freezer for at least 20 minutes. This short chilling step is important so that the ice cream sandwiches firmly support the pudding layer and don’t sink.
Step 7: Remove the pan from the freezer and add a second layer of ice cream sandwiches, again trimming and arranging to cover the surface evenly. Spread the remaining hot fudge topping over this second ice cream layer.
Step 8: Finish by spreading the remaining Cool Whip on top, covering the fudge completely in a smooth, snowy layer.
Step 9: Freeze the assembled cake until it’s fully firm, at least 2 hours or overnight if possible. This makes slicing and serving a breeze.
Step 10: Just before serving, add any additional colorful sprinkles or your favorite toppings, such as chopped candy bars, M&Ms, or a drizzle of caramel or chocolate sauce. Slice into generous squares and serve immediately to enjoy the creamy, crunchy, and chocolaty layers at their best.
Servings and Timing
This Ice Cream Sandwich Cake Recipe makes about 12 servings, perfect for sharing with friends and family at parties or special occasions. The prep time takes around 15 to 20 minutes since most of the work is simply layering the ingredients. There is no cook time needed, but the freezing time totals approximately 2 hours for the cake to set firmly. Plan for a total time of about 2 hours and 35 minutes including chilling, so it’s perfect to prepare ahead and enjoy when the time is right.
How to Serve This Ice Cream Sandwich Cake Recipe

When I serve this cake, I love adding some extra flair to make the experience feel truly special. It pairs beautifully with a cup of fresh berries or a scoop of vanilla bean ice cream to accentuate the chocolate flavors and add some fresh brightness. I also enjoy sprinkling a little sea salt on top of the hot fudge before freezing to balance the sweetness—this little touch elevates every bite.
For presentation, I recommend slicing the cake into neat squares and serving them on chilled dessert plates. Adding a final flourish with a drizzle of caramel sauce or a handful of colorful sprinkles right before letting guests enjoy it makes the dessert even more inviting and Instagram-worthy. It’s great for birthday parties, family barbecues, or as a fun finish to a casual weeknight meal. I always serve it chilled straight from the freezer because the texture and flavor are at their best when cold and firm.
To complete the indulgent experience, I like offering beverages that complement the rich chocolate notes. A glass of cold milk is a classic choice, but if you’re serving adults, a fruity red wine like a Zinfandel or a chocolate stout beer pairs wonderfully too. For non-alcoholic options, an iced coffee or a creamy hot chocolate on the side is also delightful to balance the sweetness perfectly.
Variations
One of the things I love about this Ice Cream Sandwich Cake Recipe is how customizable it is. You can easily swap out the vanilla ice cream sandwiches for chocolate or mint varieties to create completely new flavor profiles. If you want to make it gluten-free, just be sure to use gluten-free ice cream sandwiches and pudding mixes, and you’re good to go.
If you follow a vegan or dairy-free lifestyle, I’ve experimented with dairy-free pudding mixes and coconut-based Cool Whip substitutes that work surprisingly well. You can also layer in dairy-free ice cream sandwiches or even frozen banana slices for a healthier twist. For more flavor fun, try stirring in crushed peppermint candies or substituting the rainbow sprinkles with toasted coconut flakes or nuts to add unique textures.
If you’re pressed for time or want a slightly different texture, you might try layering mini ice cream sandwiches instead. This makes it easier to fit into smaller pans or individual serving cups. I’ve also seen people use this basic technique with different types of frosting or mousse in place of the pudding for a different spin. The key is to keep the layering and freezing steps intact to preserve the cake’s iconic texture and look.
Storage and Reheating
Storing Leftovers
After enjoying your slices, be sure to store any leftovers tightly covered in an airtight container or wrapped well with plastic wrap so the ice cream sandwiches don’t pick up freezer odors. This dessert keeps beautifully in the freezer for up to 5 days and remains just as delicious, as long as it stays frozen.
Freezing
This cake is perfect for freezing and can be made well in advance. To freeze, cover the entire pan with plastic wrap and then with foil to prevent freezer burn. When wrapped this way, the cake keeps its flavors and texture for up to 2 weeks without any loss in quality. Just make sure to label it so you don’t forget when you made it!
Reheating
Since this is a frozen dessert, reheating is not recommended. Instead, the best way to enjoy any frozen leftovers is to let the cake sit at room temperature for 5 to 10 minutes before slicing to make the cutting easier and the texture more enjoyable. Avoid thawing completely or microwaving as this will cause it to become watery and lose its structure.
FAQs
Can I use different flavors of ice cream sandwiches?
Absolutely! While I love the contrast of vanilla ice cream sandwiches for this cake, feel free to experiment with chocolate, mint, or even birthday cake-flavored sandwiches. Different flavors add a fun twist and customize the dessert to your liking.
Do I need to use instant pudding, or can I make it from scratch?
Instant pudding mix makes this recipe incredibly quick and simple, but you can absolutely make a homemade chocolate pudding if you prefer. Just be sure it thickens well to maintain the layers’ structure and chill thoroughly before assembling.
Can I make this cake ahead of time for a party?
Yes! This cake actually benefits from some resting time in the freezer. I often prepare it the day before a party so the flavors meld perfectly and slicing is easier. Just add your toppings right before serving for the best presentation.
What if I don’t have Cool Whip, can I use whipped cream instead?
Traditional whipped cream can be used as a substitute, but I recommend stabilizing it with a little powdered sugar and vanilla extract so it holds up better during freezing. Cool Whip’s trademark fluffiness and freeze-stable texture really help keep this dessert perfect.
Is this recipe suitable for kids?
Definitely! This recipe is kid-friendly with familiar flavors, fun sprinkles, and easy-to-eat layers. Plus, it’s a fantastic activity to make with children, letting them help layer and decorate the cake with toppings.
Conclusion
I hope you’re as excited to try this Ice Cream Sandwich Cake Recipe as I am to share it with you. It’s a delightful, fuss-free dessert that brings fun, flavor, and a touch of nostalgia to every table. Whether it’s for a special celebration or just a cozy night in, this cake is guaranteed to be a hit. So go ahead, grab those ice cream sandwiches, and treat yourself to a slice (or two) of pure joy.