Why You’ll Love This Recipe
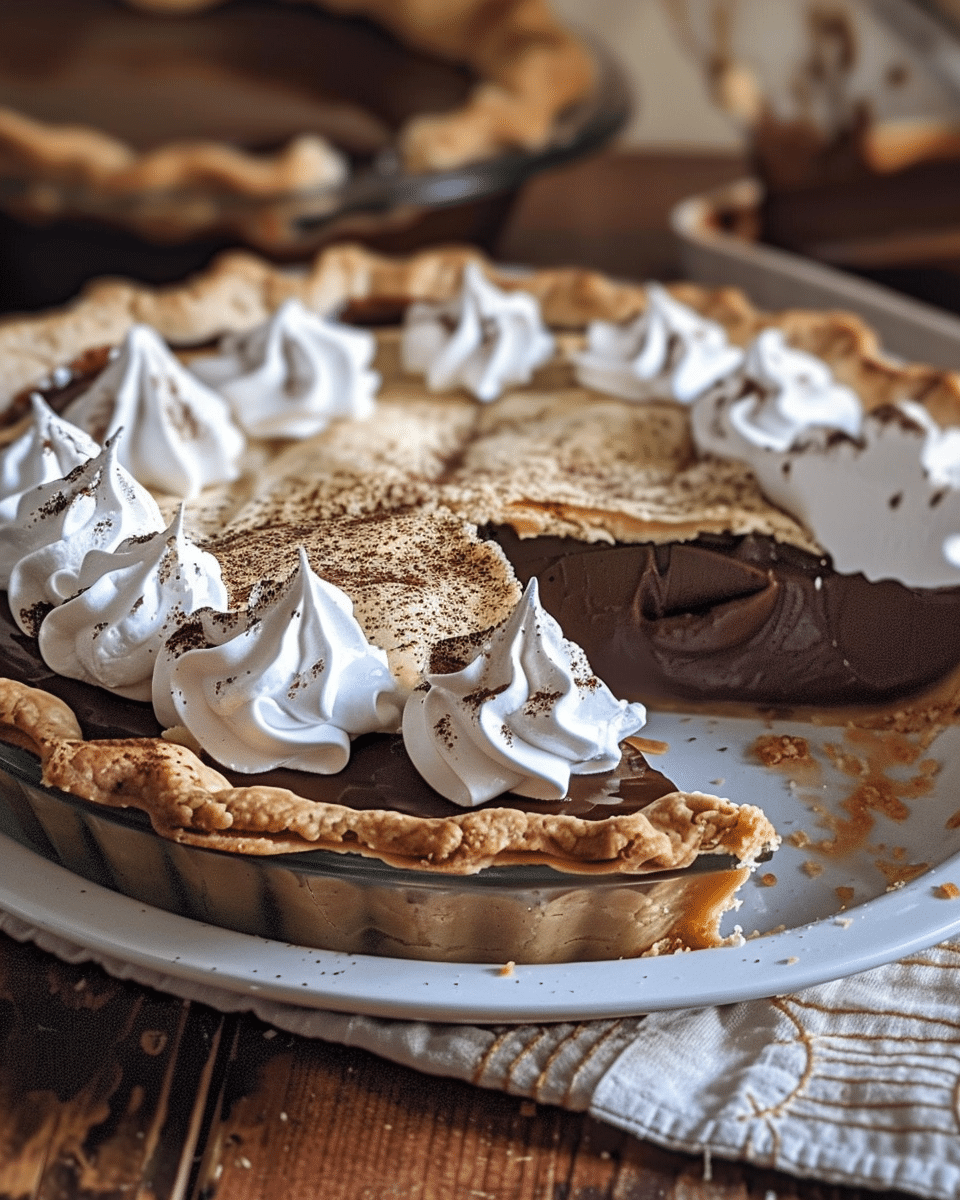
I love how this chocolate pie brings together the perfect balance of sweetness and richness. It’s silky, decadent, and perfect for any occasion — whether I’m making it for a family gathering, a holiday dessert, or just a quiet weekend treat. The old-fashioned method gives it that authentic, homemade touch that’s hard to beat. Plus, it’s made with simple ingredients I usually already have on hand.
Ingredients
(Here’s a tip: Check out the full list of ingredients and measurements in the recipe card below.)
1 cup sugar
2 tablespoons cornstarch
1/4 teaspoon salt
2 cups milk
2 ounces unsweetened chocolate, chopped
3 egg yolks, beaten
2 tablespoons butter
1 teaspoon vanilla extract
1 pre-baked pie crust
Whipped cream (for topping)
Directions
-
I combine the sugar, cornstarch, and salt in a saucepan.
-
I gently whisk in the milk and bring the mixture to a boil over medium heat, stirring constantly.
-
I stir in the chopped chocolate until it melts completely and the mixture becomes smooth.
-
In a separate bowl, I beat the egg yolks.
-
I temper the yolks by adding a small amount of the hot chocolate mixture, whisking gently to prevent scrambling.
-
I slowly pour the egg mixture back into the saucepan.
-
I cook the mixture for about 2–3 minutes until it thickens and becomes creamy.
-
I remove the pan from heat and stir in the butter and vanilla extract.
-
I pour the chocolate filling into the pre-baked pie crust and smooth the top.
-
I let the pie cool to room temperature, then refrigerate it for at least 4 hours until it’s set.
-
I top the pie with whipped cream just before serving.
Servings and timing
This recipe makes one 9-inch pie, serving about 8 people.
Prep Time: 15 minutes
Cook Time: 15 minutes
Chill Time: 4 hours
Total Time: 4 hours 30 minutes
Variations
-
Chocolate lovers’ version: I sometimes use a mix of unsweetened and semisweet chocolate for a deeper, more complex flavor.
-
Nutty twist: I sprinkle chopped pecans or walnuts over the whipped cream for a crunchy finish.
-
Coffee infusion: Adding a teaspoon of instant espresso powder enhances the chocolate flavor beautifully.
-
Crust swap: I love using a graham cracker or Oreo crust for a sweeter, more indulgent touch.
-
Mini pies: I make individual chocolate pies using mini tart shells for easy serving.
Storage/Reheating
I store the pie covered in the refrigerator for up to 4 days. It’s best served cold, so I don’t reheat it. If I’ve made it ahead of time, I simply add the whipped cream topping just before serving to keep it fresh and fluffy.
FAQs
How do I prevent my chocolate pie filling from getting lumpy?
I make sure to whisk constantly while cooking and add the milk slowly to the dry ingredients. Tempering the eggs properly also keeps the filling silky smooth.
Can I use cocoa powder instead of unsweetened chocolate?
Yes, I can substitute 3 tablespoons of cocoa powder plus 1 tablespoon of butter for every ounce of unsweetened chocolate.
How do I know when the filling is thick enough?
I cook it until the mixture coats the back of a spoon. It should be thick but still pourable — it will firm up more as it cools.
Can I freeze Old Fashioned Chocolate Pie?
I don’t recommend freezing it, as the texture of the custard can change once thawed. It’s best enjoyed fresh or chilled from the fridge.
What kind of whipped cream works best?
I prefer homemade whipped cream made with heavy cream and a touch of powdered sugar. It’s light and balances the rich chocolate filling perfectly.
Conclusion
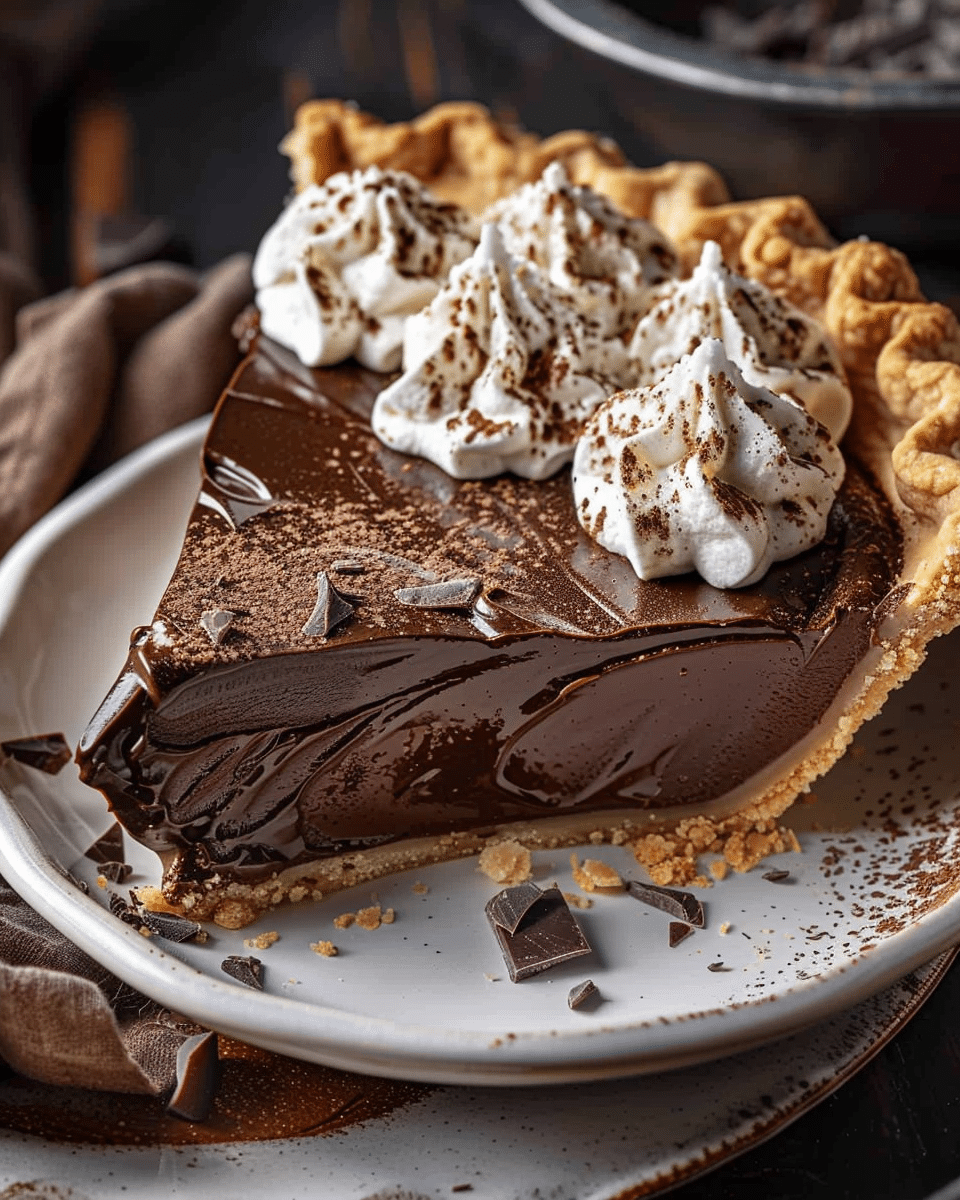
This Old Fashioned Chocolate Pie is one of my favorite comfort desserts. It’s creamy, rich, and has that classic homemade flavor that never goes out of style. Whether I’m making it for a special occasion or just because I’m craving something sweet, this pie always hits the spot. It’s a simple recipe that brings pure chocolate happiness in every bite.
Print
Old Fashioned Chocolate Pie
- Total Time: 4 hours 30 minutes
- Yield: 8 servings
- Diet: Vegetarian
Description
This rich, silky old fashioned chocolate pie is made from scratch with real chocolate, a creamy custard filling, and topped with whipped cream—just like grandma used to make.
Ingredients
1 cup sugar
2 tablespoons cornstarch
1/4 teaspoon salt
2 cups milk
2 ounces unsweetened chocolate, chopped
3 egg yolks, beaten
2 tablespoons butter
1 teaspoon vanilla extract
1 pre-baked pie crust
Whipped cream (for topping)
Instructions
Combine Dry Ingredients:
In a medium saucepan, whisk together sugar, cornstarch, and salt until well combined.
Add Milk:
Slowly whisk in milk and cook over medium heat, stirring constantly, until the mixture begins to boil and thicken.
Melt Chocolate:
Add the chopped unsweetened chocolate and stir until melted and smooth.
Temper Egg Yolks:
In a separate bowl, beat the egg yolks. Slowly add a small amount of the hot chocolate mixture into the yolks, whisking constantly to temper them.
Combine Mixtures:
Pour the egg mixture back into the saucepan. Continue cooking for 2–3 minutes, stirring constantly, until the filling becomes thick and creamy.
Add Butter & Vanilla:
Remove from heat and stir in butter and vanilla extract until glossy and smooth.
Assemble the Pie:
Pour the chocolate filling into the pre-baked pie crust, spreading evenly.
Cool & Chill:
Allow the pie to cool to room temperature, then refrigerate for at least 4 hours, or until fully set.
Serve:
Top with whipped cream before serving and enjoy every silky, chocolatey bite!
Notes
For extra flavor, add a pinch of espresso powder to deepen the chocolate taste.
Use whole milk for the creamiest texture.
The pie filling thickens more as it chills, so don’t overcook it on the stove.
Make ahead: This pie can be refrigerated overnight and is even better the next day!
- Prep Time: 15 minutes
- Cook Time: 15 minutes
- Category: Dessert, Pie, Comfort Food
- Method: Stovetop, No-Bake (after crust is pre-baked)
- Cuisine: American, Southern

