I love this dessert because it checks every box: no oven, minimal prep, and absolutely gorgeous when layered. It’s nostalgic like classic banana pudding, but the strawberries add a juicy, fresh twist. The cream cheese and sweetened condensed milk create a velvety texture that’s irresistible. It’s a crowd-pleaser, a make-ahead wonder, and totally customizable depending on what I have on hand.
Ingredients
(Here’s a tip: Check out the full list of ingredients and measurements in the recipe card below.)
For the Crust:
2 cups crushed vanilla wafers (about 60 wafers)
6 tablespoons unsalted butter, melted
1 tablespoon granulated sugar (optional, for added sweetness)
1. Prepare the Crust I crush the vanilla wafers in a food processor (or in a bag with a rolling pin) until fine. I mix the crumbs with melted butter (and sugar if using) until everything is evenly combined. Then, I press the mixture into the bottom of a 9×13-inch dish and chill it while I prepare the filling.
2. Make the Pudding Layer In a mixing bowl, I whisk together the instant pudding mix and cold milk until smooth and thick—this takes about 2 minutes. I pop it in the fridge to chill slightly while I work on the next step.
3. Create the Cream Cheese Mixture In another bowl, I beat the softened cream cheese until smooth, then add the sweetened condensed milk and vanilla extract. Once that’s creamy, I fold in the chilled pudding mixture, then gently fold in the whipped topping until it’s fluffy and well-blended.
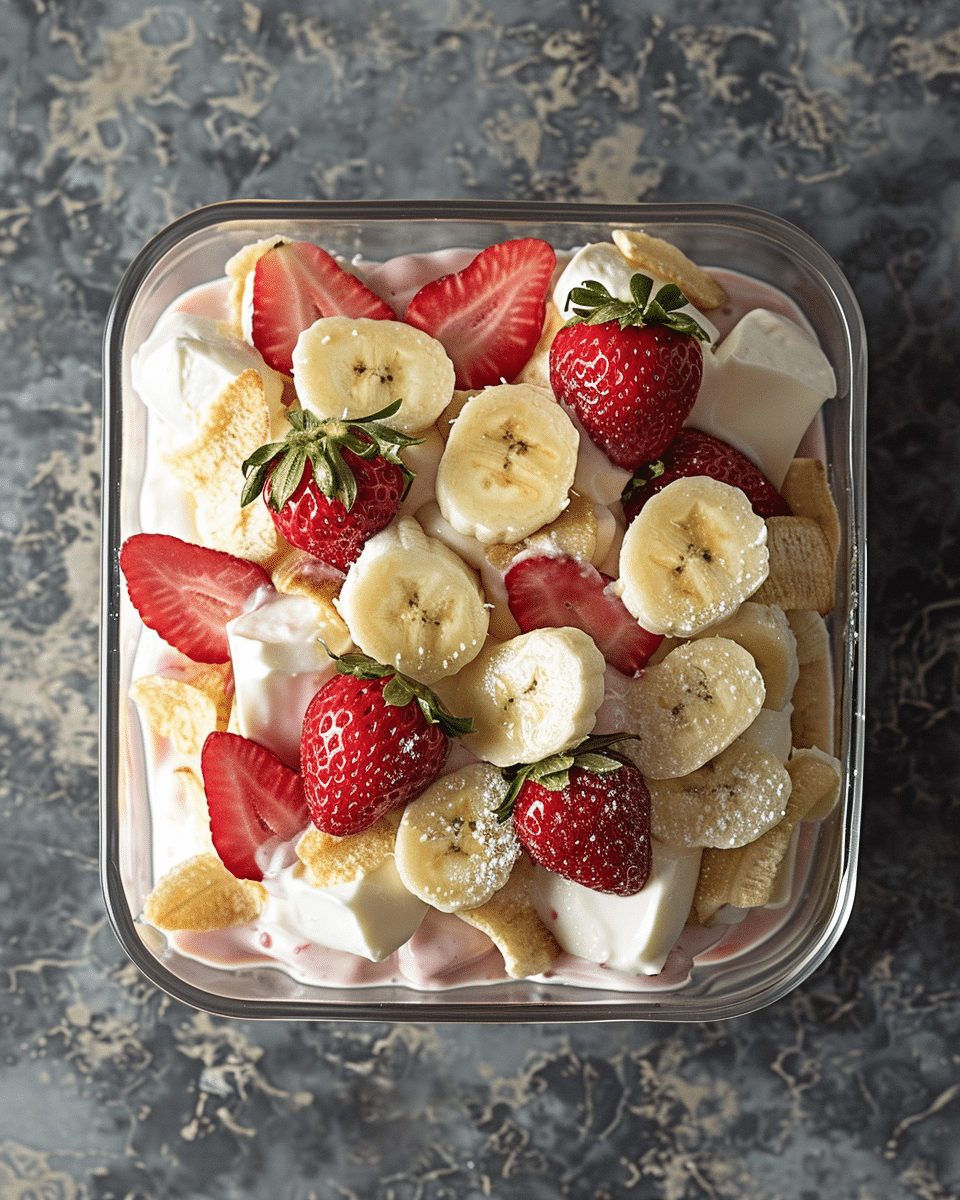
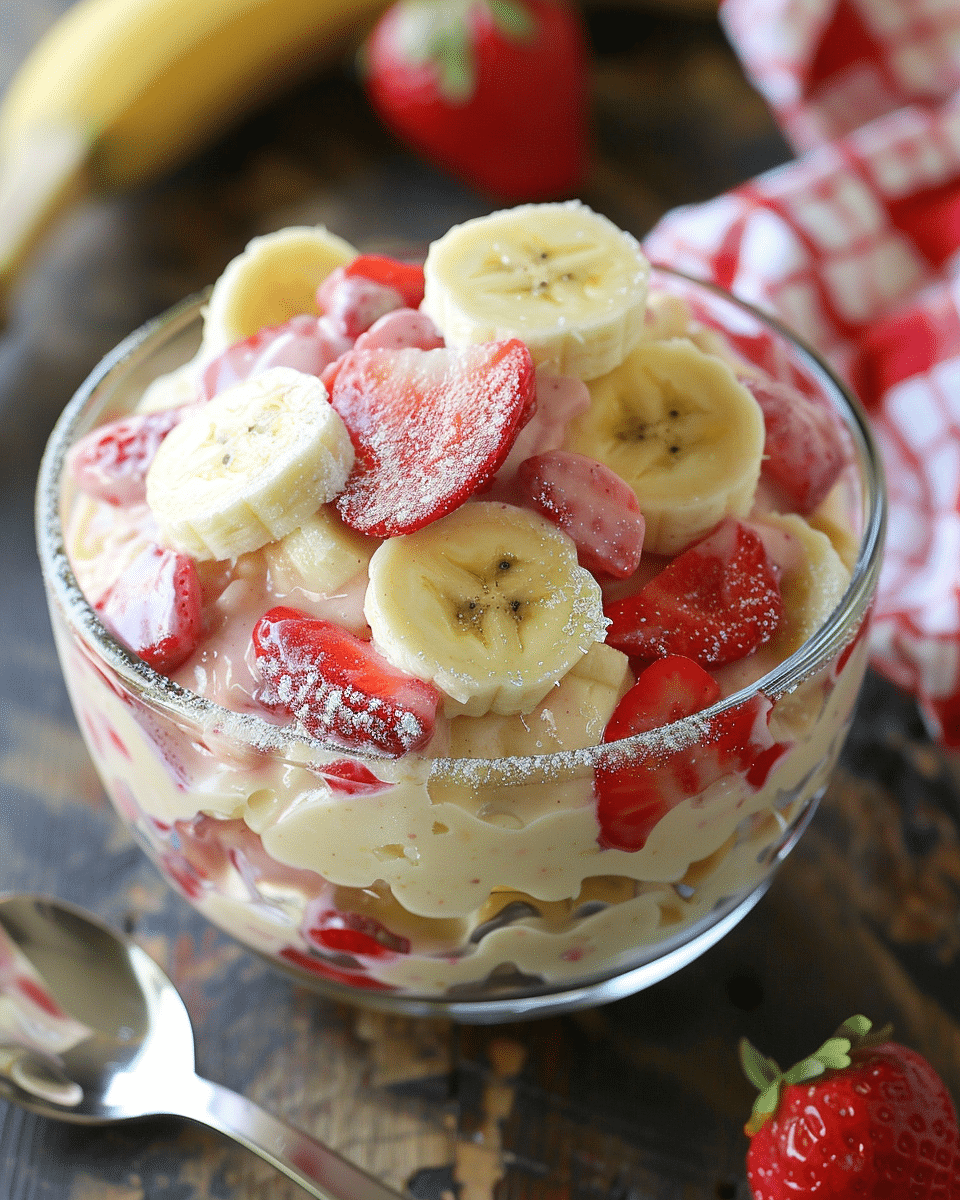
4. Assemble the Layers
Layer 1: Crust – the chilled vanilla wafer crust
Layer 2: Bananas – sliced evenly over the crust
Layer 3: Cream – half of the pudding mixture
Layer 4: Strawberries – a generous layer of fresh slices
Layer 5: Cream – the rest of the pudding mixture, smoothed on top
5. Chill I cover the dish with plastic wrap and chill it for at least 4 hours (or overnight if I can). This lets the layers set and the flavors blend beautifully.
6. Garnish and Serve Right before serving, I top it with extra whipped topping, crushed wafers, fresh fruit, and a few mint leaves. Then I slice it or scoop it into bowls and serve it chilled.
Servings and timing
This recipe serves 10–12 people. Prep Time: 25 minutes Chill Time: 4 hours (minimum) Total Time: About 4½ hours
Variations
Chocolate Strawberry Banana Dream: I swap the vanilla pudding for chocolate and drizzle chocolate syrup between layers.
Cheesecake Twist: I add ½ cup sour cream to the cream cheese for extra tang.
Tropical Style: I mix shredded coconut into the cream layer and top with toasted coconut.
Mixed Berry Version: I use a blend of berries like raspberries, blueberries, and strawberries for a colorful variation.
Graham Cracker Crust: I substitute the wafers with crushed graham crackers or Biscoff cookies.
Storage/Reheating
Refrigerator: I store leftovers covered in the fridge for up to 3 days. The bananas may darken a bit, but the flavor stays amazing. Freezer: I freeze individual portions for up to 1 month. To serve, I thaw them overnight in the fridge. Make-Ahead Tip: I often make the whole dessert (minus the fruit garnish) a day ahead and add fresh fruit just before serving for the best look and texture.
FAQs
Can I use homemade pudding instead of instant?
Yes, I sometimes use homemade vanilla pudding. I just make sure it’s completely cooled before mixing it into the filling.
How do I keep the bananas from turning brown?
I lightly brush the banana slices with lemon juice before layering to slow browning, especially if I’m making the dessert ahead.
What’s the best way to crush the wafers for the crust?
I use a food processor for fine, even crumbs, but crushing them in a sealed plastic bag with a rolling pin works too.
Can I make this dessert in individual servings?
Absolutely. I use small mason jars or dessert cups to create personal-sized portions—perfect for parties.
What’s the best way to serve this?
I slice it into squares or spoon it into bowls and serve it chilled. It also looks stunning when layered in a trifle bowl.
Conclusion
Strawberry Banana Pudding Dream is a show-stopping, no-bake dessert that combines fruit, cream, and nostalgia into one layered masterpiece. I love how easy it is to make with simple ingredients, yet it feels so special when served. Whether I’m feeding a crowd or just treating my family, this dessert always delivers a dreamy, fruity finish to any meal.
This no-bake strawberry banana pudding dream is creamy, fruity, and irresistible. With layers of vanilla pudding, fresh fruit, and whipped topping, it’s the ultimate easy dessert.


